DIY - Your first fermented vegetable jar in 5 steps
Episode 4/5 You've got vegetables that are a bit too ugly for Instagram but too good for the trash? Good news: they're just waiting for one thing → to become fermentation superstars. Ready? Let's do this in 5 quick steps
1. The basic ingredients
No need for starred chef equipment:
- Your vegetables (carrots, cabbage, beets, cucumbers… embrace diversity!)
- Unrefined salt (coarse sea salt preferably)
- Water (filtered if possible, to avoid chlorine that slows fermentation)
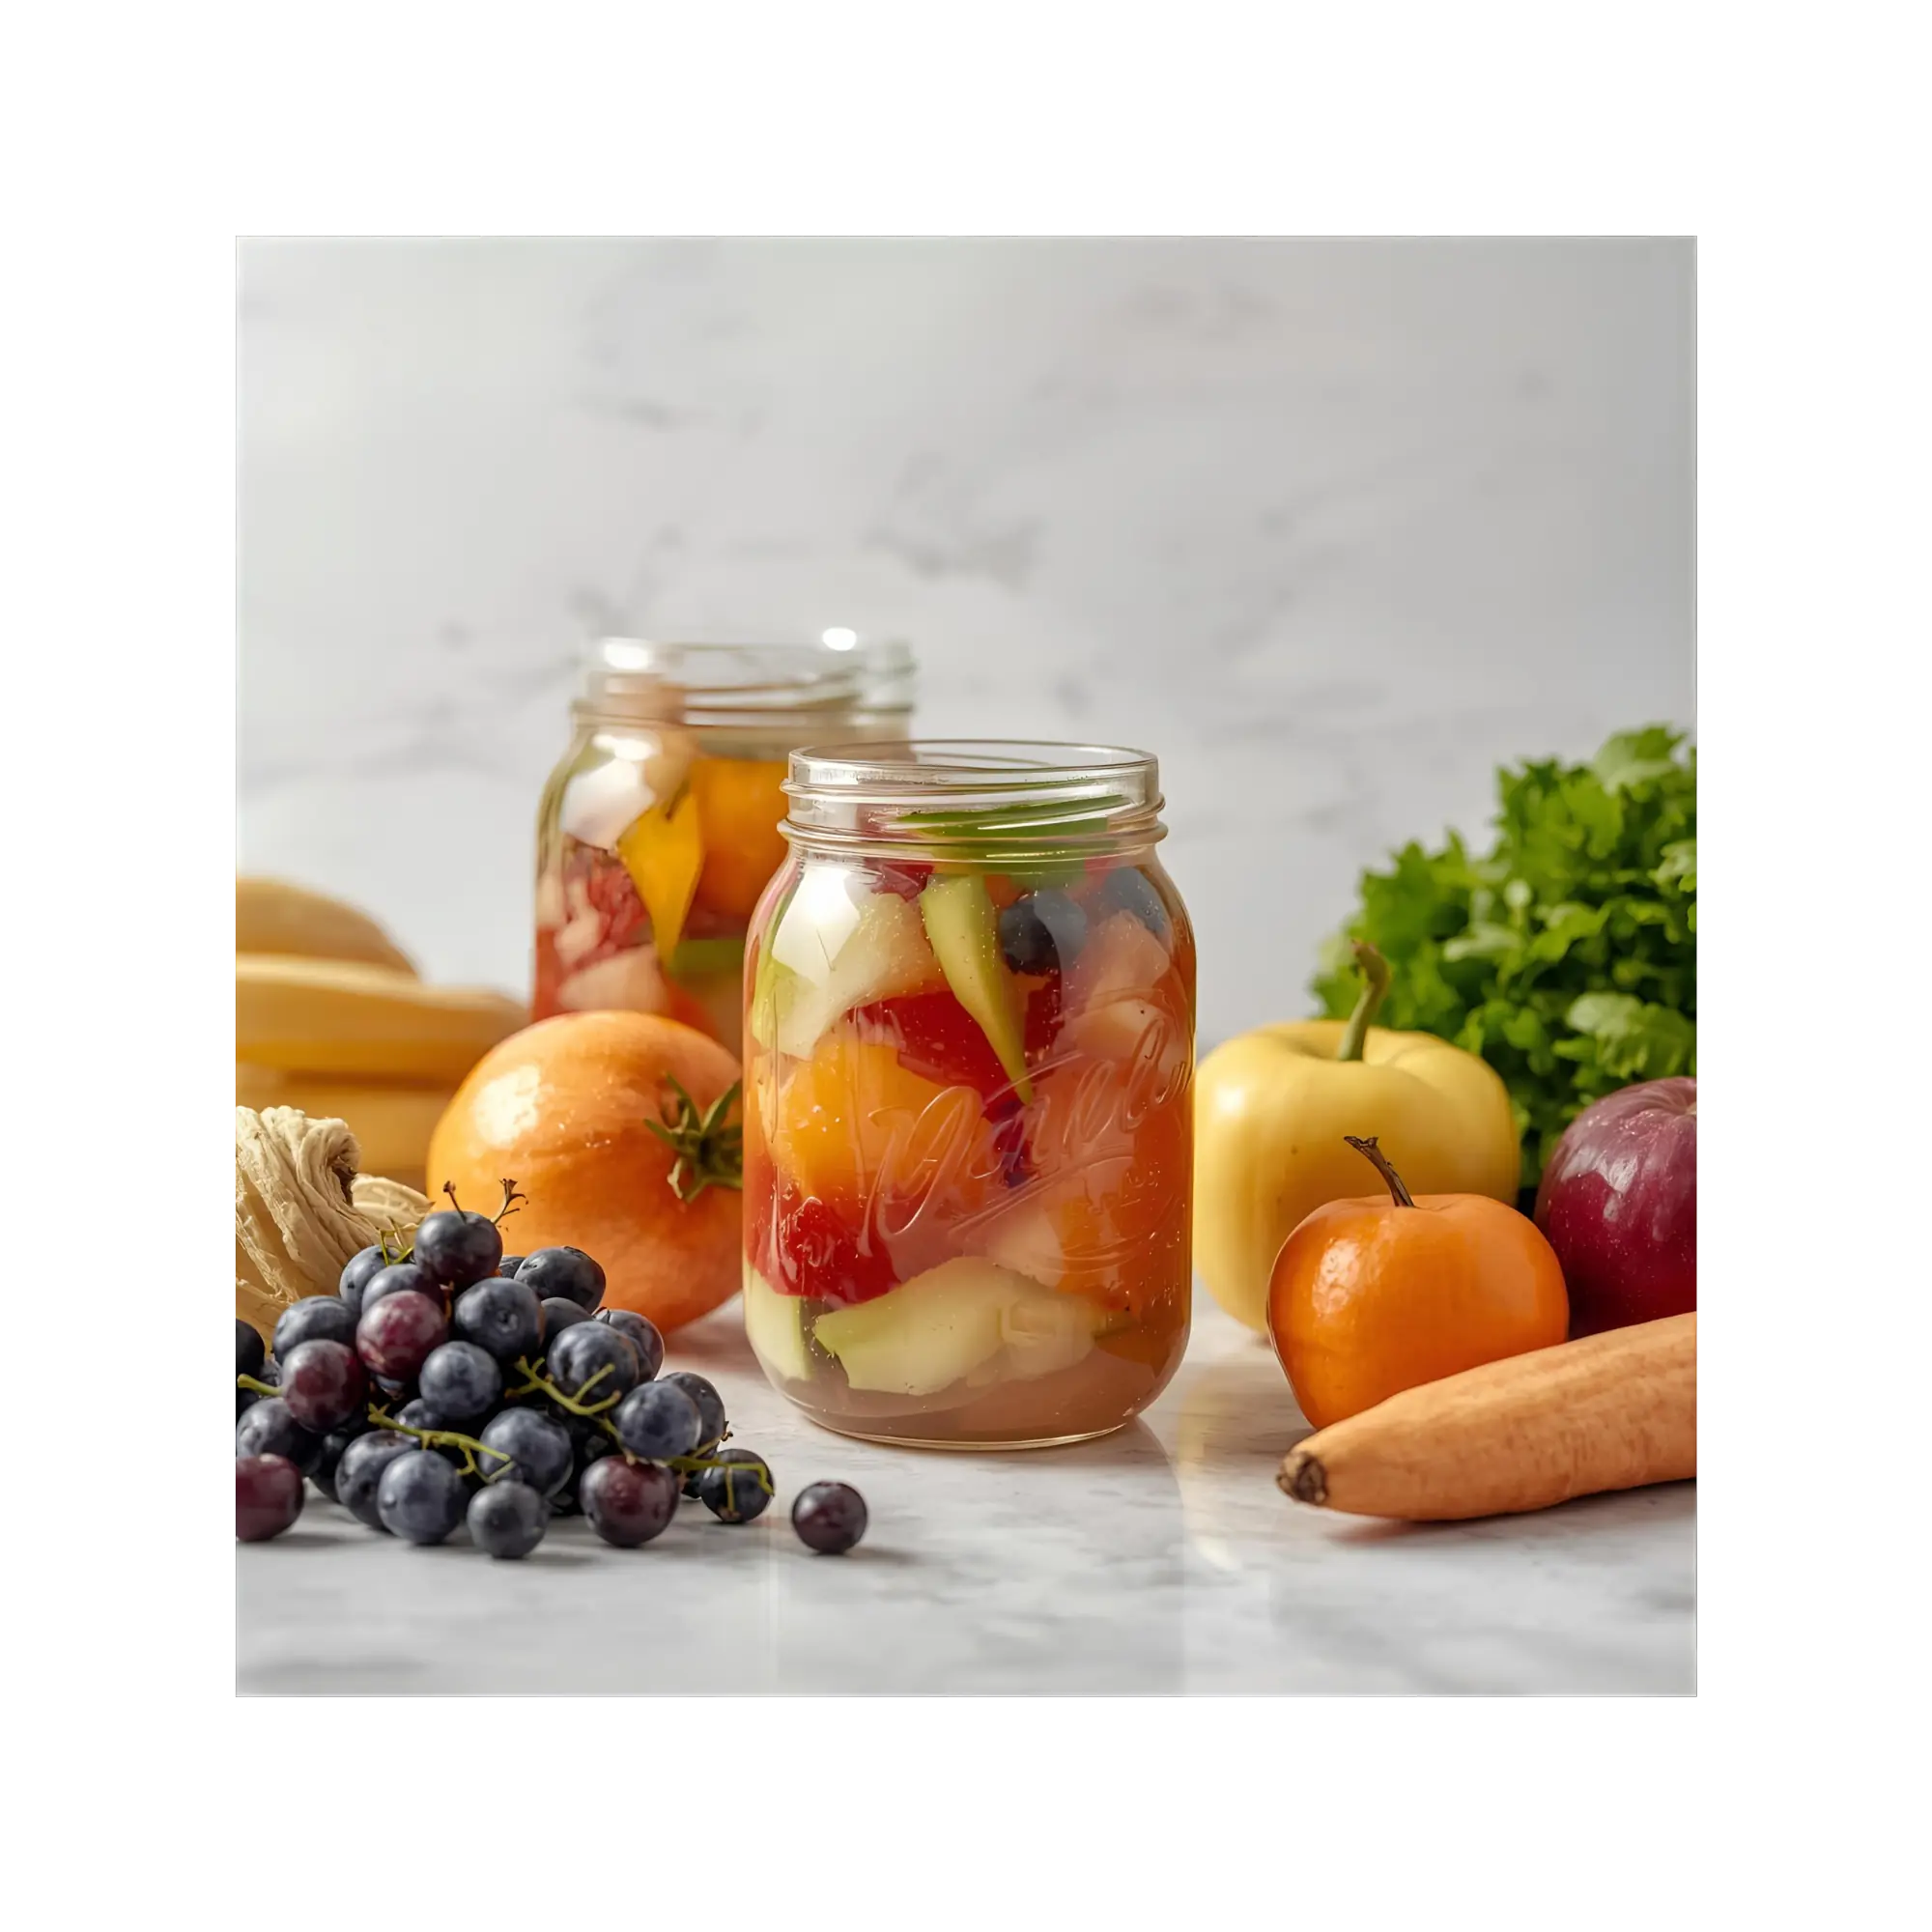
- A glass jar with a tight-fitting lid
That’s it. Yes, really.
2. Water/salt proportions
The golden rule: 2 to 3% salt relative to the total weight of vegetables + water. Example: for 1 liter of water, count about 20 to 30 g of salt.
Why? Salt protects vegetables from bad bacteria and lets the good ones work.
3. Preparation and jarring
- Wash your vegetables (no need to peel them if they’re organic).
- Cut them into pieces or sticks.
- Slip them into the jar.
- Cover with brine (water + salt mixture).
- Make sure everything is well submerged = a vegetable that sticks out is a vegetable that molds.
No need for grandma-style sterilization. A clean, rinsed jar is enough.
4. Fermentation at room temperature
- Close the jar (no need to tighten it like a safe).
- Leave it at room temperature, away from direct sunlight.
- In a few days, you’ll see bubbles: it’s alive, it’s working, and that’s exactly what we want.
5. Duration, storage & taste
After 5 to 7 days: your vegetables are already fermented, crunchy and tangy.
After 2 to 3 weeks: the flavors are more intense, more complex. Taste regularly: you decide when it’s “perfect”. Then, store them in the fridge: they’ll keep for several months without a problem.
**Safety-wise → if it smells good, the color looks appetizing and there’s no suspicious mold, you can munch away with peace of mind.
Want to personalize? Play with aromatics!
Add to your jars:
- A few garlic cloves
- Mustard seeds
- Bay leaves, dill, rosemary
- A bit of chili for the more adventurous
Find our fermentation article series:


